Free Halloween Pumpkin Crochet Pattern


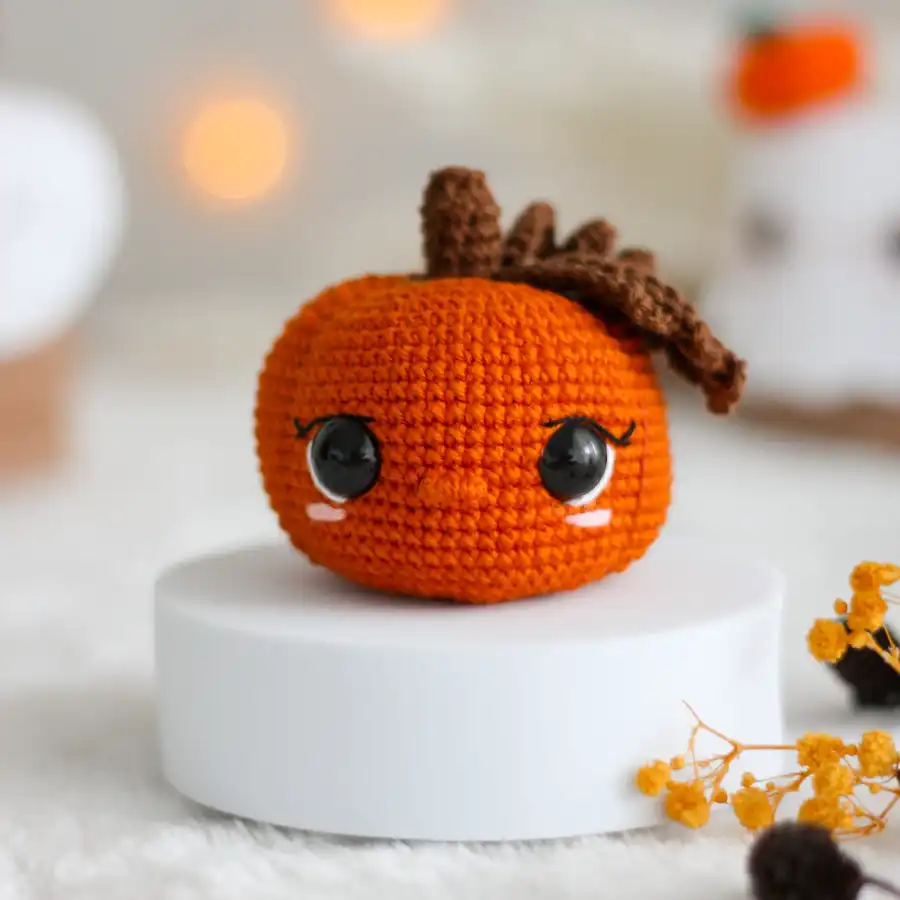
Pattern summary
Crochet abbreviations
| Rnd | Round |
|---|---|
| St | Stitch |
| Sl st | Slip stitch |
| Sc | Single crochet |
| Hdc | Half double crochet |
| Dc | Double crochet |
| Tr | Treble crochet |
| Inc | Increase |
| Dec | Decrease |
| Flo | Front loops only |
| Blo | Back loops only |
| BPsc | Back post single crochet |
| [ ] | Total stitch count for the round |
| ( ) x n | Repeat the sequence in parentheses n times |
Materials
Before you start
How to read this pattern
Example: Rnd 3: (2 sc, 1 inc) x 6 [24]. Work the sequence inside the parentheses 6 times. Because each inc produces 2 stitches, you finish the round with 24 stitches, the number shown in square brackets.
Stitch marker
I always place the stitch marker in the first stitch of the round, so the marker always shows where each new round begins. Move it up as you go and you will never lose your place.
Which side is the right side?
I'm right-handed, and my amigurumi are worked counterclockwise. If you're a beginner and find it hard to tell the inside of the piece from the outside, look closely at the stitches: on the right side they sit as neat V shapes, while the inside-out surface looks bumpier. Understanding the reverse side of the magic ring matters for positioning the amigurumi correctly.
Yarn under or yarn over?
I make my amigurumi with the yarn under technique, because it closes the stitches up more and the finished piece comes out a little smaller. Don't worry if you prefer yarn over. The pattern works perfectly with either. The only part I don't tighten as much is the hair, which I like to leave looser.

Invisible knot
A way of starting a new colour or joining a new strand so the join disappears into the fabric, with no bulky knot showing on the right side.

Invisible decrease
Worked through the front loops only of the next two stitches, the invisible decrease turns two stitches into one without leaving the little hole or bump a regular decrease can create. That matters once the amigurumi is stuffed.

Invisible finish off
Instead of pulling the yarn straight through the last stitch, the tail is threaded back through the first stitches of the round so the end blends into the round and no step is visible.

Inverted magic ring
Used to close the final rounds of a piece: the remaining stitches are gathered like a magic ring worked in reverse, giving a flat, invisible closure instead of a puckered hole.

Pumpkin body
Start with color walnut.
Rnd 1: 8 sc in magic ring
Rnd 2: Blo 8 sc
Rnd 3 - 6: 8 sc (4 rounds)
Rnd 7: Flo 8 inc [16]
Rnd 8: Change to whisky. (1 sc, 1 inc) x 8 [24]
Rnd 9: 1 sc, 1 inc, (2 sc, 1 inc) x 7, 1 sc [32]
Rnd 10: (3 sc, 1 inc) x 8 [40]
Rnd 11: 2 sc, 1 inc, (4 sc, 1 inc) x 7, 2 sc [48]
Rnd 12: (5 sc, 1 inc) x 8 [56]
Rnd 13: 3 sc, 1 inc, (6 sc, 1 inc) x 7, 3 sc [64]
Rnd 14 - 26: 64 sc (13 rounds)
Rnd 27: 3 sc, 1 dec, (6 sc, 1 dec) x 7, 3 sc [56]
Rnd 28: (5 sc, 1 dec) x 8 [48]
Rnd 29: 2 sc, 1 dec, (4 sc, 1 dec) x 7, 2 sc [40]
Rnd 30: (3 sc, 1 dec) x 8 [32]
Rnd 31: 1 sc, 1 dec, (2 sc, 1 dec) x 7, 1 sc [24]
Rnd 32: (1 sc, 1 dec) x 8 [16]
Rnd 33: 8 dec [8]
Finish off with the inverted magic ring.
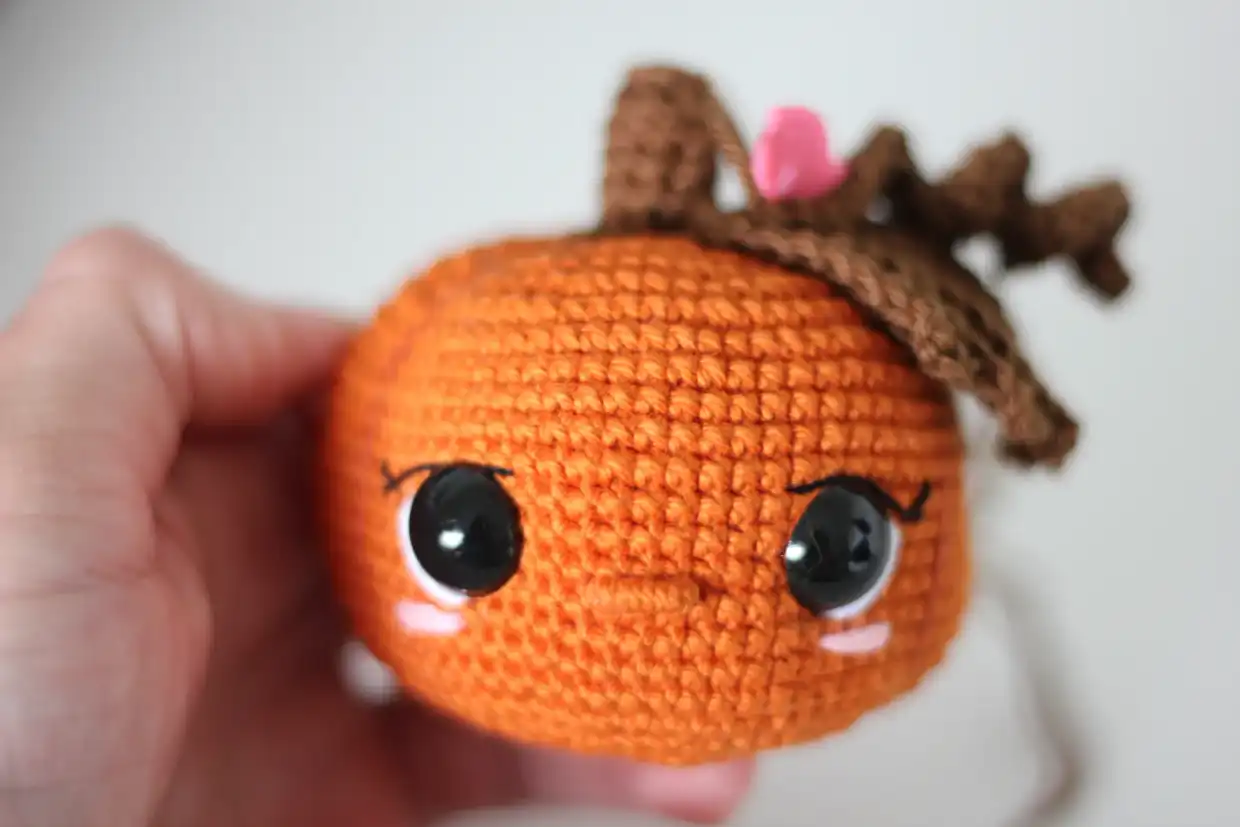
Insert the eyes between rounds 20 and 21 with 9 sc of visible distance between them. Start adding some filling to the amigurumi as you close the piece.
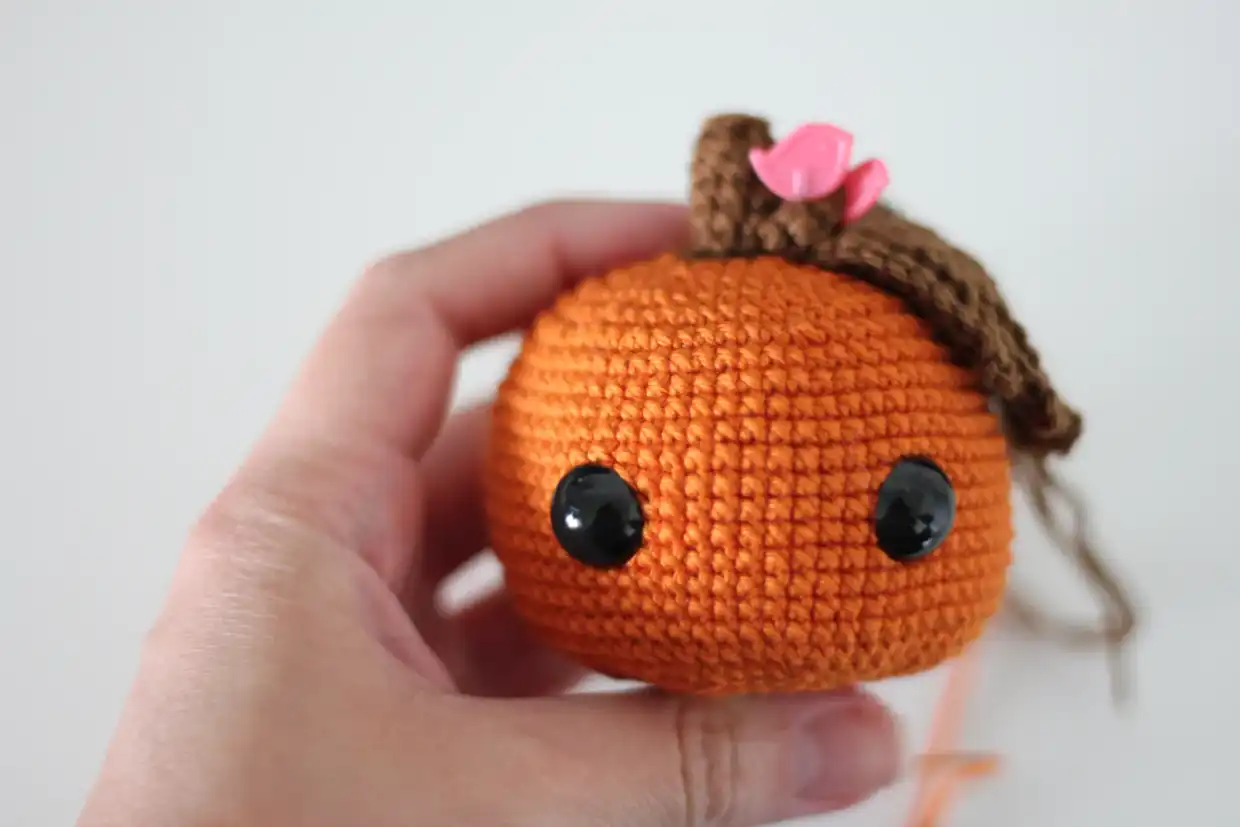
Nose
Use color white. Embroider the nose in between rounds 20 and 21, leaving 3 sc away from the eyes. Thread the yarn horizontally 2 times at a distance of 3 sc. Then, thread the same thread several times vertically and finish off.
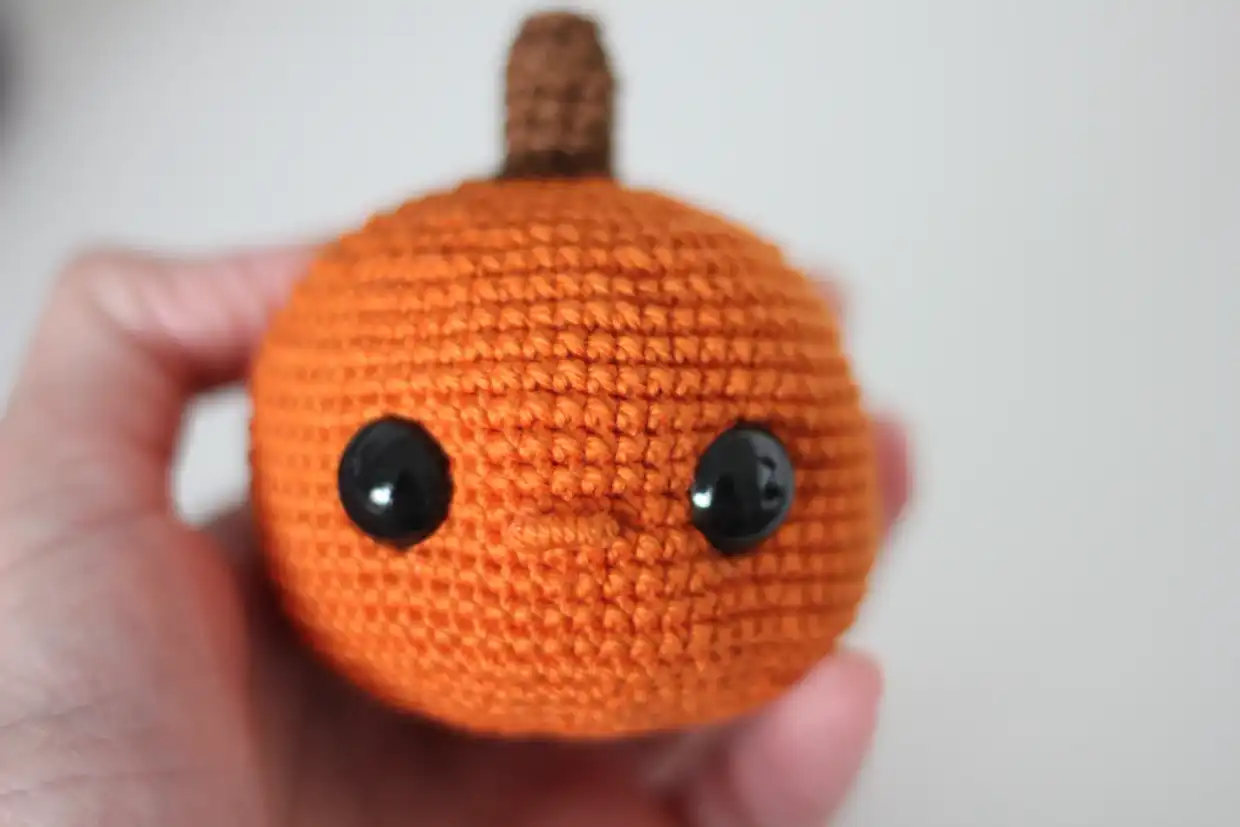
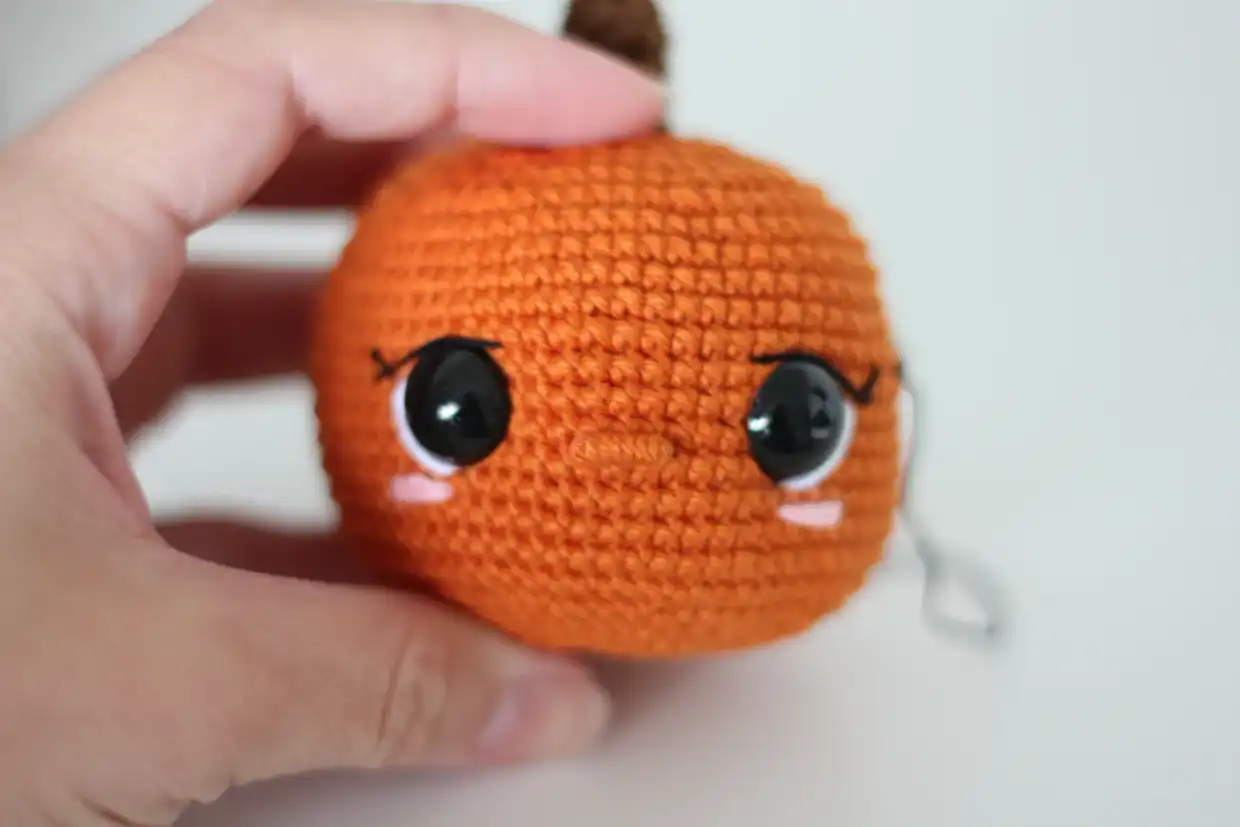
Face details
Pass the white thread in the outer corner of the eyes. Tie a knot with the two ends of the remaining strands and finish off. With the help of tweezers, push the knot into the amigurumi.
Use thin black embroidery thread to make the pumpkin's eyelashes. Insert a tapestry needle through the side of the piece and outline the top of the eyes. Finish the remaining strands in the same way as was done with the white eye contour.
Stem
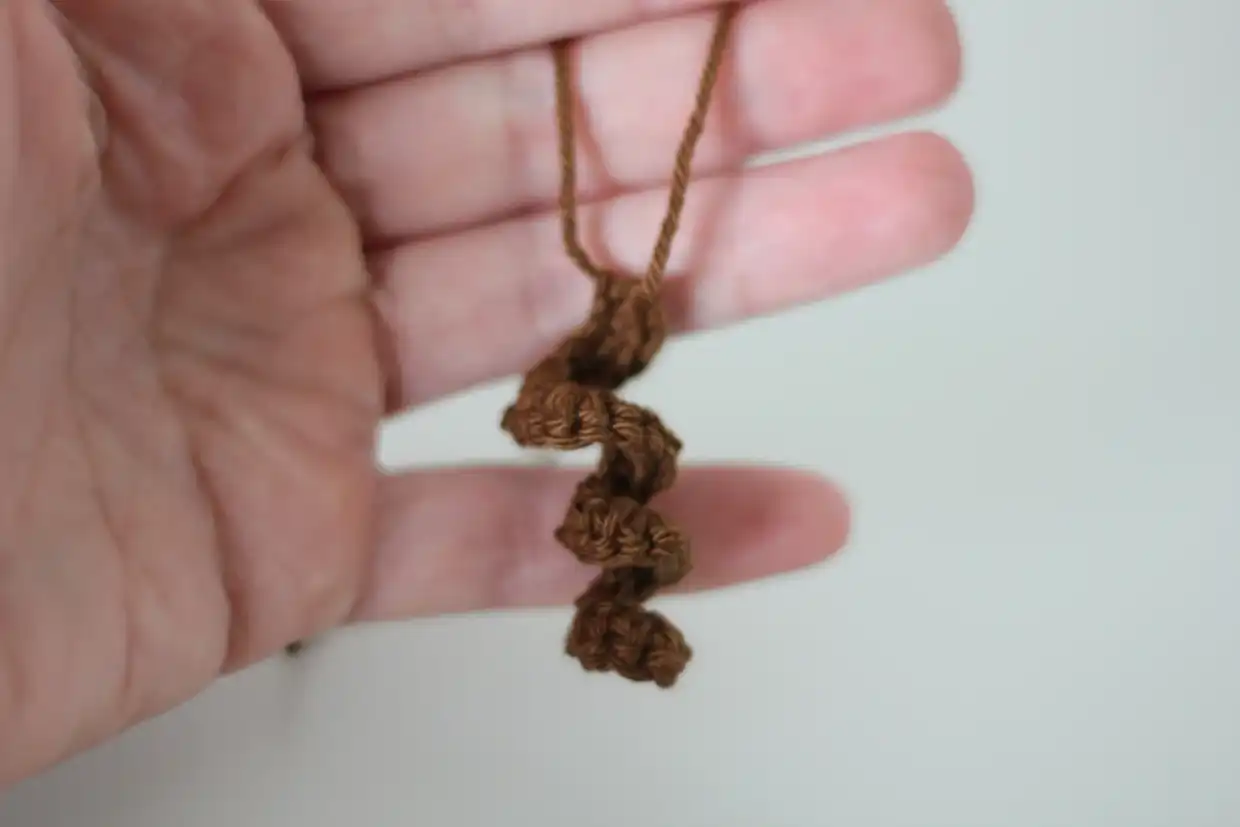
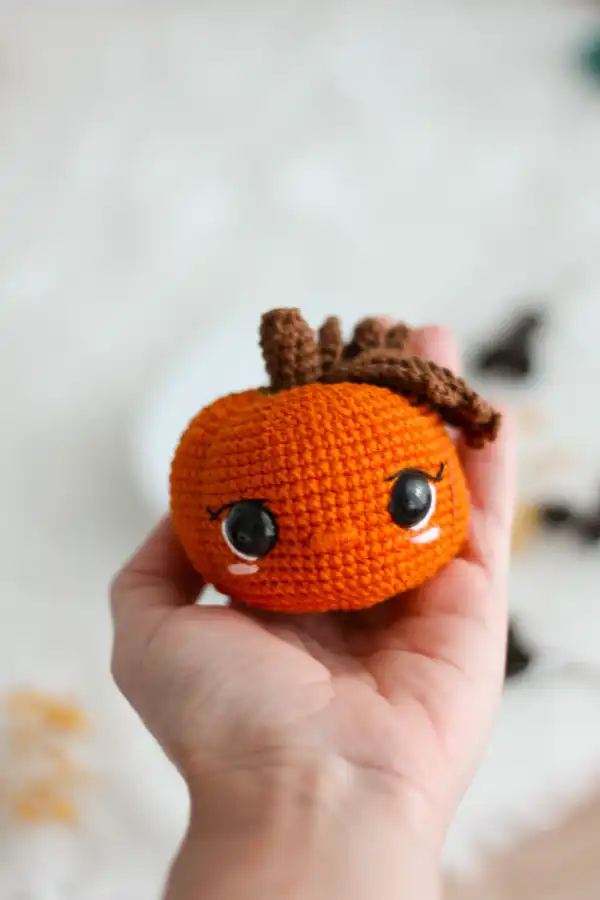
Use color walnut. Make 19 chains and, from the second chain from the hook, make (1 inc triple, 1 sc) x 9. Leave a long thread to sew.
Pumpkin divisions
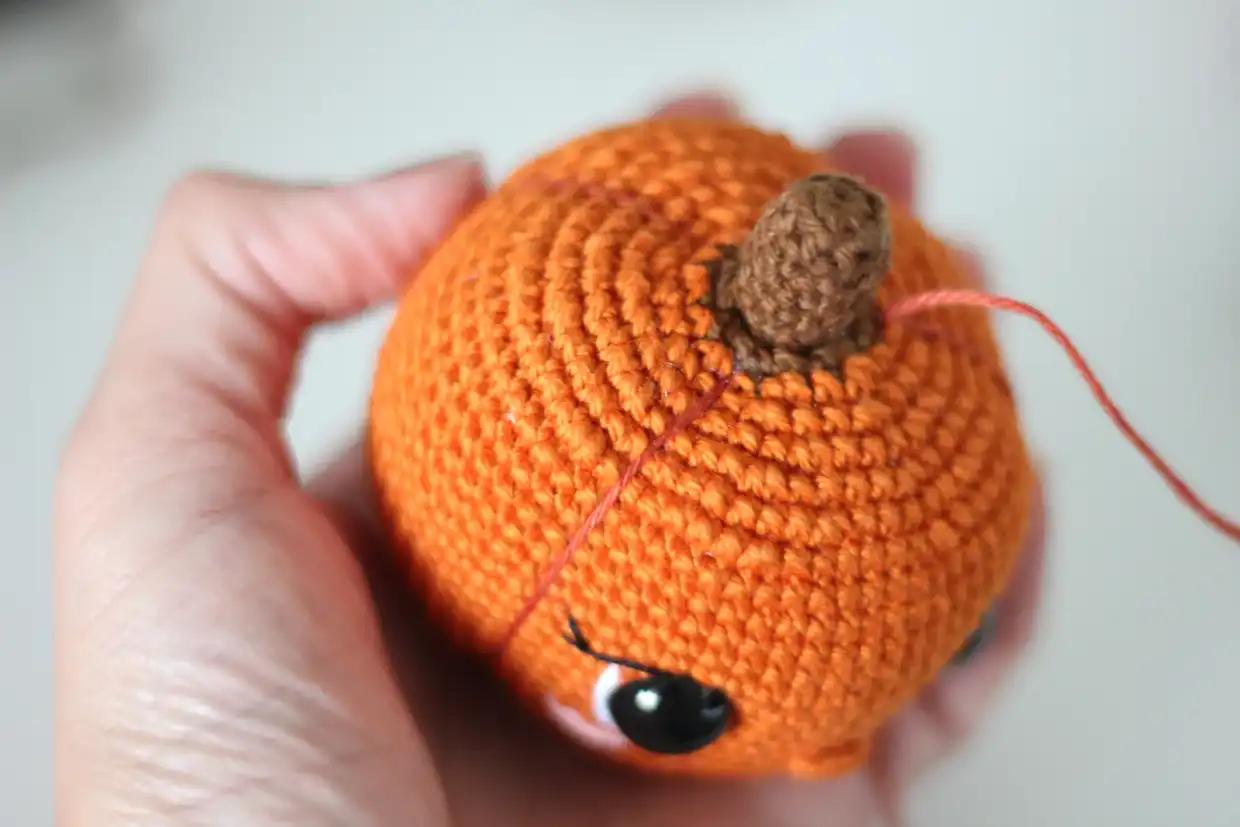
Use color cognac. Divide the pumpkin into 4 parts with pins. Pass the thread through the middle of the inverted magic ring, crossing it through the pumpkin until you reach the 8th round (the division of colors in the pumpkin). Pass the thread through the middle 4 times, returning to where it was marked with pins to form the divisions of the pumpkin. Pull the thread so that the division is clearly marked and finish.
Blush
Use color pink berry. Make a horizontal line using the 3 sc space between rounds 23 and 24, in the outer corner below the eyes.
Leaf
Use color walnut.
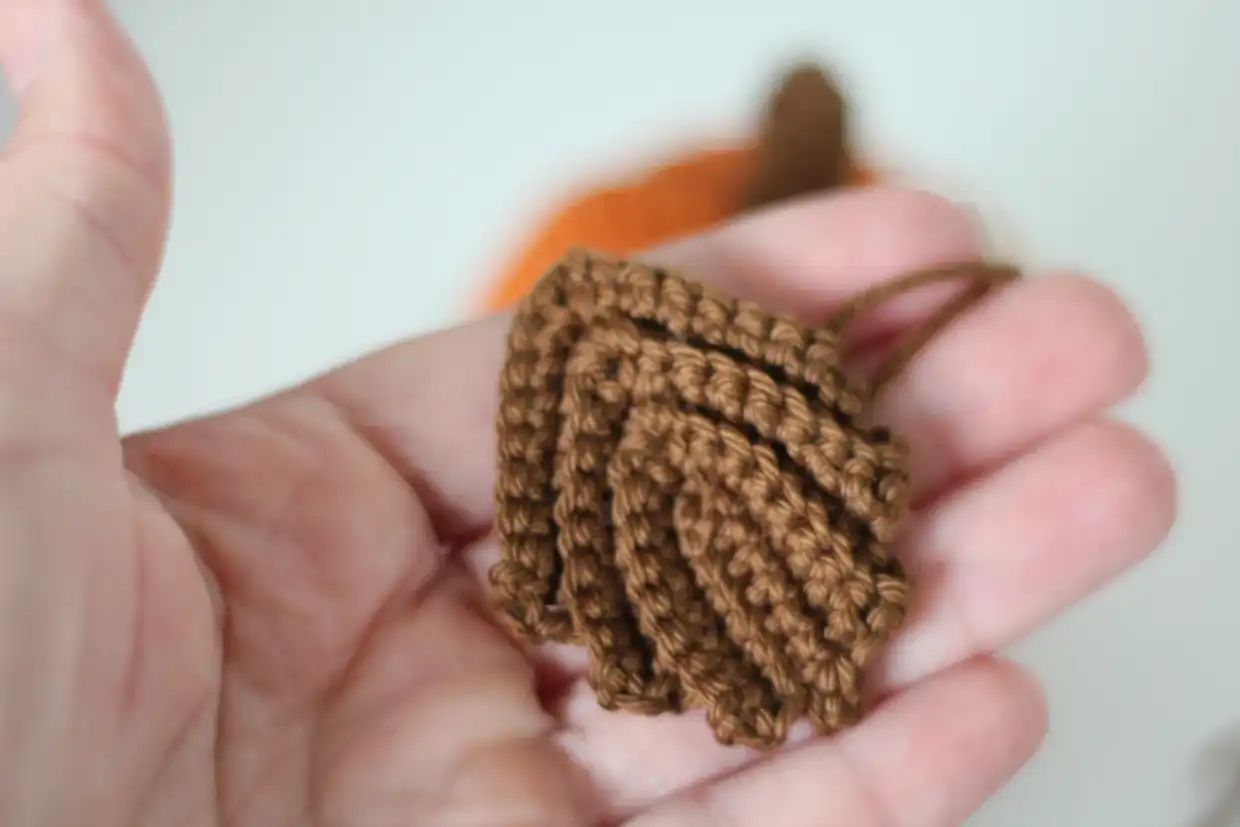
Start with 10 chains and, from the third chain, make 7 sc.
In the last chain make (1 sc, 2 chains, 1 sc). Make 7 sc on the other side of the chains.
Make 2 chains and turn the piece. Insert the hook in the 4th stitch from the chain, using the back loop.
Make Blo 7 sc, and in the next stitch (using the two loops) make (1 sc, 2 chains, 1 sc).
Continue with another Blo 7 sc, make 2 chains and turn the piece.
Note that you will always make 7 sc on one side, make the 2 chains at the same stitch to form a "V", and another 7 sc on the other side, always using the back loop.
Repeat this sequence 4 times (you will have 4 "V"s on the leaf). Leave a long thread to sew.
Assembly
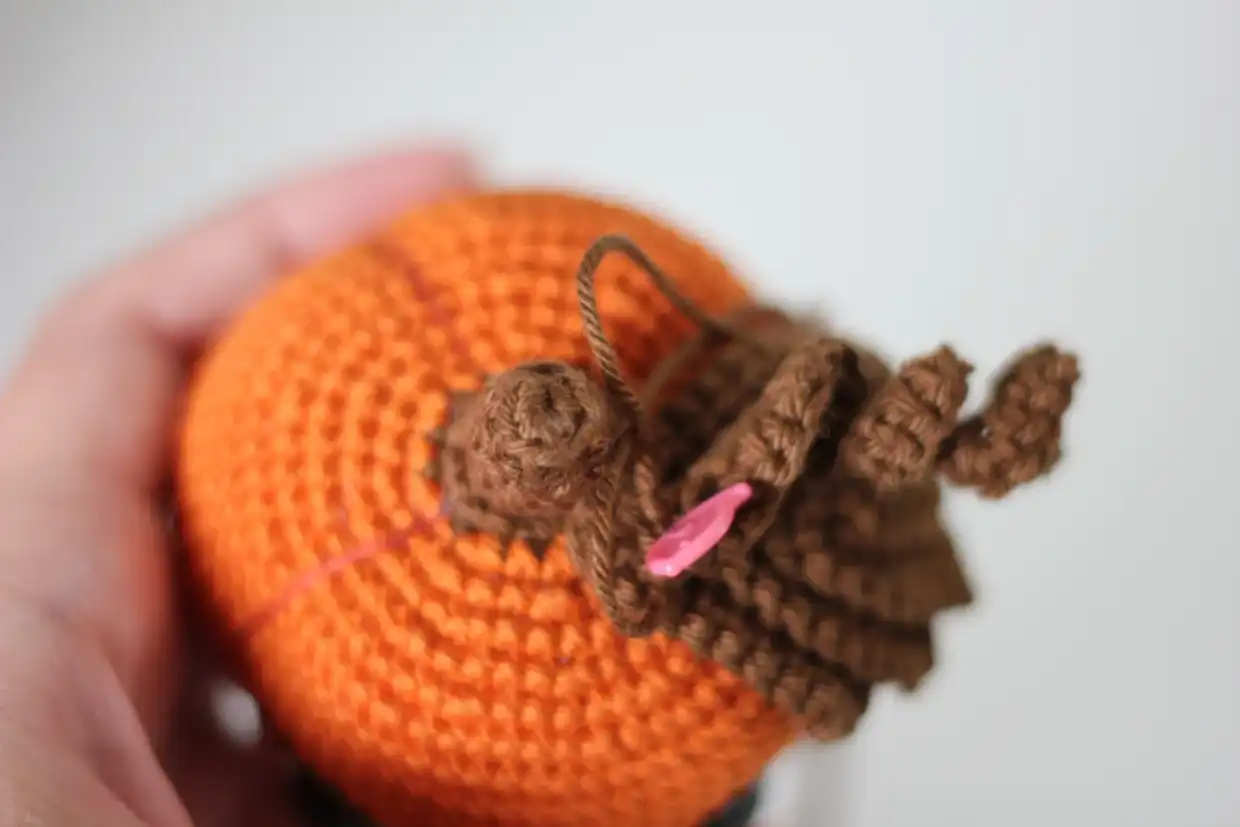
Sew the leaf to the base of the pumpkin, between rounds 6 and 7. Sew the stem on top of the leaf, also between rounds 6 and 7, and tie off the remaining threads.
Pin this pattern
You might also like


Frequently asked questions
Can I sell items I make from this free pattern?
Yes, you're welcome to sell finished items you make yourself. Please credit Crocheniacs (@crocheniacs) and never resell, copy, or redistribute the pattern itself.
What yarn and hook should I use?
Any similar-weight yarn works. The pattern summary above lists the exact hook, yarn weight, and colours used for the sample. Feel free to substitute colours to make it your own.
The free pattern has fewer photos than I'd like. Is there a printable version?
Yes. The ad-free, printable PDF includes every step photo and QR-code video tutorial, with no ads. You can get the printable PDF here.
I'm stuck on a step. Can you help me?
Yes. Email is the best way to reach me, at [email protected]. Personal help is for customers who bought the pattern or the ad-free pattern, so please send your purchase ID (or the email you paid with) along with photos of your work in progress. The photos are what let me see where it went wrong and give you a real answer.